Know Before You Grow: Pumpkins
How to Grow Pumpkins to Enjoy Your Personal Pumpkin Patch in Fall
Pumpkins are a versatile crop that can add a touch of warmth to your garden and table. If you’re ready to grow your own pumpkins, starting with the right seeds and following a few essential steps can ensure thriving plants and a productive harvest. In this Know Before You Grow guide, we’ll walk you through each stage of growing pumpkins, from seed to harvest.
Choosing the Right Pumpkin Seeds
Pumpkins come in a wide variety of shapes, sizes, and flavors, so selecting the right seeds is key to meeting your goals. Whether you’re looking for a decorative gourd or a delicious pie pumpkin, there’s a type that’s perfect for you.
Small varieties: These are great for smaller gardens or container growing because of their compact growth. Look for mini pumpkins, too.
Large varieties: If you have the space and are dreaming of giant pumpkins for Halloween, try Dill's Atlantic Giant Pumpkin Seeds.
Edible varieties: If culinary use is your goal, opt for pumpkins with names like Sugar for pumpkins that are known for their rich flavor and smooth texture.
Look for seeds that are specifically labeled as high-yield or disease-resistant if you want to maximize your crop and minimize maintenance.
When to Start Pumpkin Seeds
Pumpkins are a warm-season crop that thrives in temperatures between 70-85°F. Since pumpkins are sensitive to frost, timing is crucial for a successful harvest.
Indoor Start (if necessary): In cooler climates, start seeds indoors about 2-3 weeks before the last expected frost date. Use biodegradable pots to minimize transplant shock, as pumpkins don’t like their roots disturbed.
Direct Sowing: For most gardeners, sow pumpkin seeds directly outdoors when the soil temperature consistently reaches 70°F, typically 2-3 weeks after the last frost date.
Soil Preparation
Pumpkins are heavy feeders, meaning they thrive in rich, well-draining soil. Preparing the soil properly will help your seeds establish strong roots and grow healthy vines.
Soil type :A sandy loam or well-draining soil enriched with organic matter is ideal.
Soil pH: Aim for a pH between 6.0 and 6.8, which is slightly acidic to neutral.
Fertilizing: Work in a generous amount of compost or well-rotted manure into the soil about two weeks before planting. This organic matter will help retain moisture and provide nutrients throughout the growing season.
Planting Pumpkin Seeds
Once the soil is warm and enriched, you’re ready to plant.
Spacing: Pumpkins need plenty of space to sprawl. Plant seeds in mounds, spacing them 4-6 feet apart for smaller varieties, and 8-12 feet apart for larger varieties.
Depth: Plant seeds 1 inch deep in the soil. Sow 2-3 seeds per mound, thinning to the strongest seedling after germination.
Watering: After planting, water thoroughly to help the seeds settle in the soil.
Caring for Pumpkins
To grow pumpkins successfully, consistent care is needed throughout the season.
Watering: Keep the soil consistently moist, especially during flowering and fruit development. Pumpkins prefer deep watering sessions about 1-2 inches per week, rather than light surface watering.
Mulching: Applying mulch around the base of the plants helps retain moisture, suppress weeds, and keep the soil temperature consistent.
Fertilizing: Once the plants start to vine, side-dress with a nitrogen-rich fertilizer to promote growth. Later in the season, switch to a fertilizer higher in phosphorus and potassium to encourage flowering and fruit development.
Special Considerations
Pumpkin plants produce both male and female flowers, and only the female flowers will bear fruit. For fruit to set, bees and other pollinators must visit the flowers. If pollinator activity is low in your garden, consider hand-pollinating by transferring pollen from male flowers to female flowers using a small brush.
Growing Tips
Pinch back vines: To encourage larger pumpkins, pinch off the tips of vines once the plant has set a few fruits. This directs energy to developing the pumpkins instead of additional vine growth.
Rotate crops: Avoid planting pumpkins in the same area for consecutive years to prevent soil-borne diseases.
Shade: In very hot climates, some light shade during the hottest part of the day can prevent stress on the plants.
Pests and Problems to Watch For
Pumpkins, like many cucurbits, are susceptible to a few common pests and diseases. Download Park Seed's app, From Seed to Spoon, for help identifying pests and problems.
- Squash Vine Borer: This pest can tunnel through stems, causing plants to wilt. Regularly inspect plants and remove any visible larvae.
- Powdery Mildew: A fungal disease that causes a white powdery coating on leaves. Prevent it by providing good air circulation around the plants and watering at the base.
- Cucumber Beetles: These pests can chew through leaves and flowers. Use row covers early in the season to protect seedlings and young plants.
Harvesting and Enjoying Pumpkins
Knowing when to harvest pumpkins is key to ensuring the best flavor and storage potential.
Ripeness
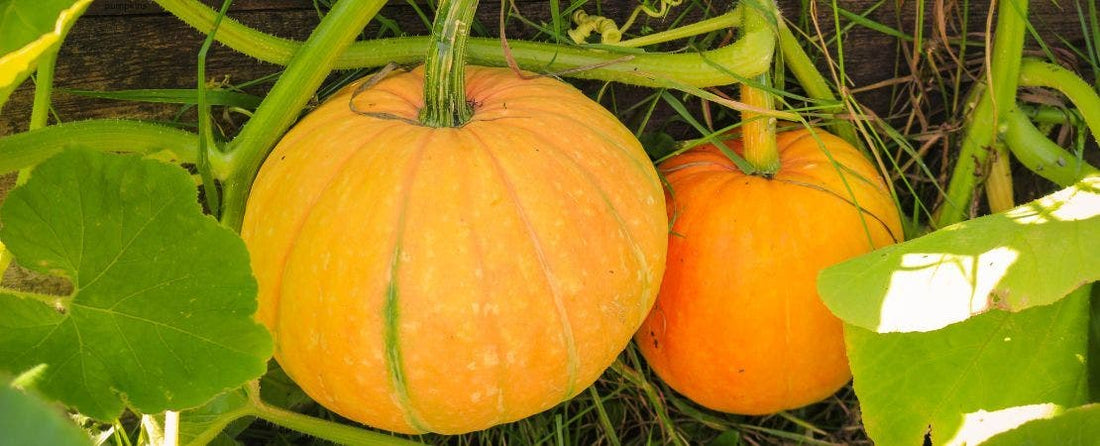
Pumpkins are ready to harvest when the skin is hard, and the color is deep and uniform (depending on the variety). Another indicator is when the vines start to wither.
Harvesting
Use a sharp knife or pruning shears to cut the pumpkin from the vine, leaving 3-4 inches of stem attached. Handle pumpkins carefully to avoid bruising.
Curing
Allow pumpkins to cure in the sun for 7-10 days, which hardens the skin for better storage.
Once harvested, pumpkins can be stored for several months in a cool, dry place. Enjoy them roasted, in soups, pies, or as part of your fall décor.
Follow these simple steps to grow pumpkins that are perfect for pies, decorations, or even the largest jack-o'-lantern on the block. With a little planning and care, you can enjoy a bountiful pumpkin harvest from your own garden.